If you are a blogger and content creator then WordPress is the best platform for you to showcase your contents. Apart from these, if you are a owner of some small business, photographer, any artist, freelancer, digital marketer, social worker or any community leader WordPress is the best solution to make your digital presence.
If you are a student and passionate about the digital world you can learn WordPress and start creating website to give yourself financial freedom.
What is WordPress?

WordPress is the most popular and simplest way to create your own website or blog. In fact, WordPress powers over 43% of all the websites on the Internet that means – more than one in four websites that you visit are likely powered by WordPress.
On a slightly more technical, WordPress is an open-source content management system (CMS) licensed under GPLv2, which means that anyone can use or modify the WordPress software for free of cost. A content management system is basically a tool that makes it easy to manage important aspects of your website without knowing anything about programming.
Creating a website using WordPress is a popular process now a days. Here’s a step-by-step guide to help you get started:

Step 1: Choose a Domain Name and Hosting
- Domain Name: Select a unique and and uncommon domain name for your website. You can use domain registrars like GoDaddy, Hostinger, Namecheap etc to check the availability of your chosen domain and purchase it.
- Hosting Provider: Choose a reliable hosting provider to store your website’s files and make them accessible on the internet. Some popular hosting providers for WordPress include Hostinger, Bluehost, GoDaddy, BigRock etc.
Installation Guide : Step-by-Step
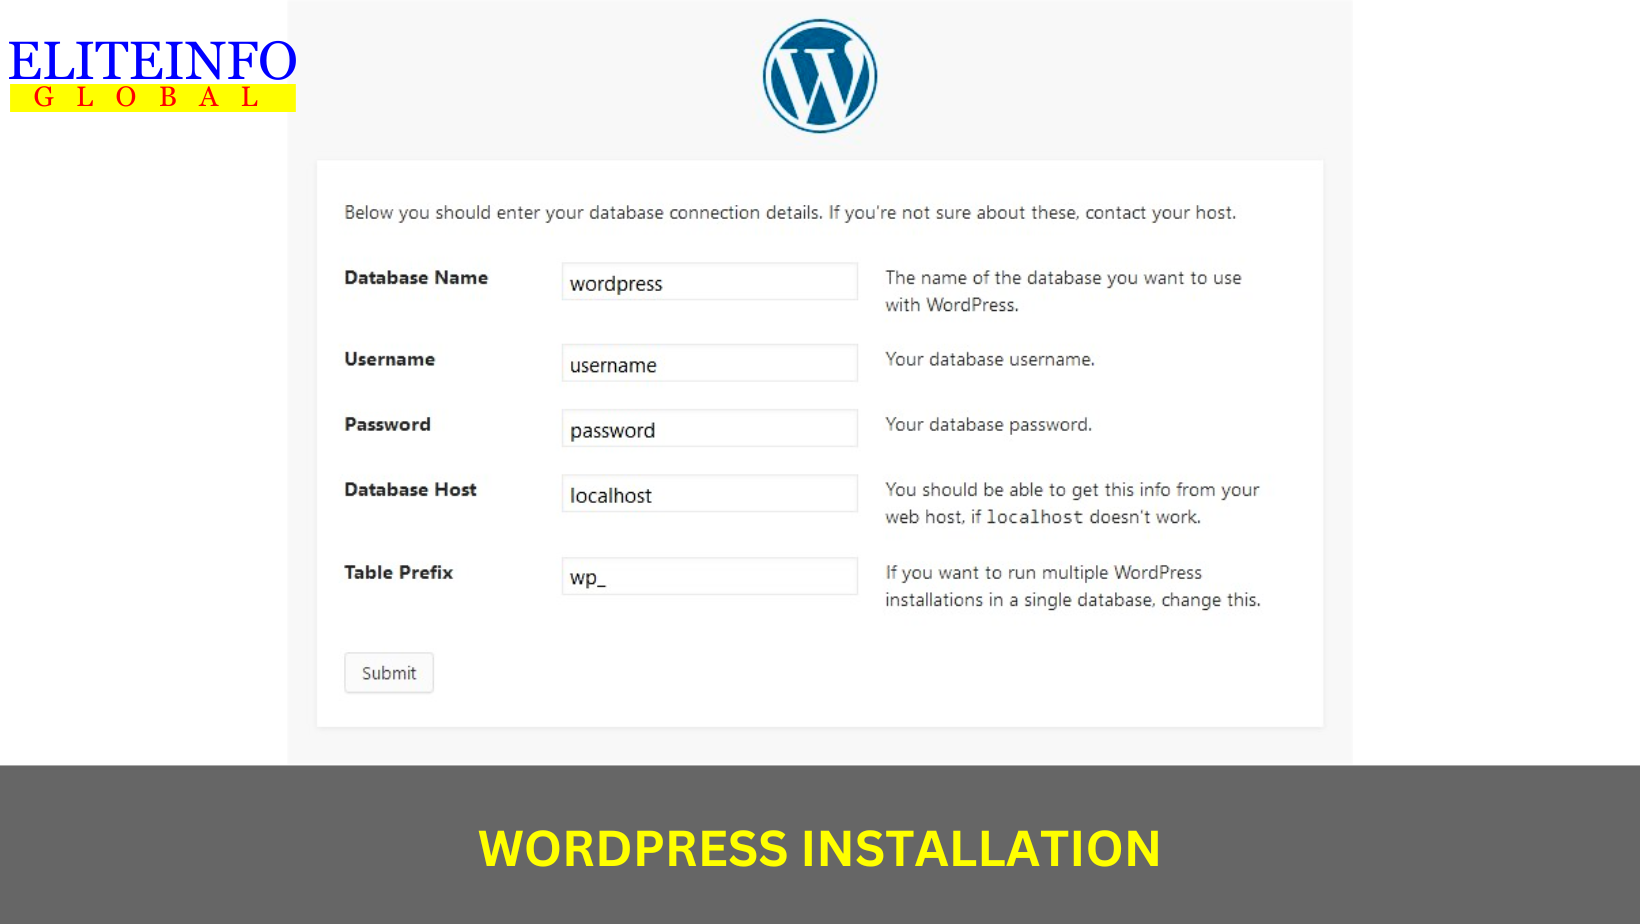
Step 2: Install WordPress
Most hosting providers offer one-click WordPress installation. Here’s a general overview:
- Log in to your hosting account’s control panel (usually cPanel).
- Now, Connect your domain with the hosting.
- Look for the “WordPress” or “Website” section and find the “Install” button or “Auto Installer” option under which you will see the WordPress.
- Follow the further steps mentioned on the hosting site to complete the installation process. You have to choose one user ID and password during the completion of the processs.
Step 3: Configure WordPress Settings
- Access your WordPress dashboard: After installation, you can access your WordPress dashboard by visiting yourdomain.com/wp-admin (replace “yourdomain.com” with your actual domain). For example, if your purchased domain is abcdefg.com the visit: yourdomain.com/wp-admin and loging with the user ID and password.
- Configure basic settings: Go to “Settings” in the left sidebar and update your site title, tagline, and other general settings.
Step 4: Choose a Theme
- In your WordPress dashboard, go to “Appearance” and then select “Themes.”
- Click on the “Add New” button to browse and install themes from the WordPress theme repository. You can also upload themes you’ve purchased or downloaded elsewhere.
- Now, Activate the theme you want to use.
Step 5: Customize Your Website
- Navigate to “Appearance” > “Customize” to access the theme customizer.
- Here, you can modify various aspects of your website’s appearance, including the site identity, colors, typography, and layout.
Don’t forget to save the changes that you made.
Step 6: Install Essential Plugins
Plugins add functionality to your WordPress website. Some essential plugins include:

- Yoast SEO: For search engine optimization.
- Contact Form 7: To create contact forms.
- Elementor: The website builed
- Classic Editor: To create and edit the contents in a user friendly way.
To install plugins, go to “Plugins” > “Add New” and search for the required plugin. Click “Install” and then “Activate.”
Step 7: Create Pages and Posts
- To add pages, go to “Pages” > “Add New.” Create essential pages like “Home,” “About,” “Contact,” and any others you need.
- To add blog posts, go to “Posts” > “Add New.” Write and publish your content.
Step 8: Configure Permalinks
Set up your permalink structure for better SEO and user-friendly URLs.
Go to “Settings” > “Permalinks” and choose a structure that suits your website (usually “Post name” is recommended).
Step 9: Add and Organize Menus
- Create menus by going to “Appearance” > “Menus.”
- Add pages, categories, or custom links to your menu.
- Organize them by creating submenus if needed.
- Assign the menu to a location (usually a header or footer).
Step 10: Optimize for SEO
Use the Yoast SEO or other plugin to optimize your website’s SEO. It helps you set meta titles, descriptions, and more for each page and post.
The goal of SEO is to increase the quantity and quality of traffic to a website through organic search engine results.
Here are key components of SEO
- Keyword Research: Keyword research involves identifying relevant keywords for your business or content that have a high search volume and are likely to attract the right audience. Understanding the terms and phrases that users enter into search engines is crucial.
- On-Page Optimization: On-page SEO involves optimizing individual web pages to improve their search engine ranking. This includes optimizing meta tags (title tags, meta descriptions), relevant and well-structured contents and header tags.
- Off-Page Optimization: Off-page SEO refers to activities that are performed outside the website to improve its visibility and credibility. It includes building high-quality backlinks, social media marketing, influencer outreach, and other strategies to enhance the website’s reputation in the online community.
- Technical SEO: Technical SEO focuses on optimizing the technical aspects of a website to make it more search engine-friendly. This includes ensuring proper website structure, improving page loading speed, implementing secure (HTTPS) connections, and making the website mobile-friendly.
- Content Quality: High-quality, relevant, and valuable content is best for SEO. Search engines aim to deliver the most relevant content to users, so creating informative, engaging, and original content can improve a website’s search engine ranking.
- User Experience and interface: Search engines consider user experience as a ranking factor. Websites that offer a positive and seamless user experience, such as easy navigation, fast loading times, and mobile responsiveness are more likely to rank higher in search results.
- Local SEO: Local SEO is important for businesses targeting local customers. This involves optimizing the website for location-specific keywords, creating a Google My Business profile, and obtaining positive reviews from local customers.
- Analytics and Monitoring: Regularly monitoring and analyzing website performance using tools like Google Analytics is essential for SEO. This helps in understanding user behavior, measuring the effectiveness of SEO strategies, and making data-driven improvements.
Regularly Update and Back Up Your Website
Keep WordPress versions, themes, and plugins up to date to ensure security and functionality. Additionally, set up regular backups to protect your site from data loss.
Promote Your Website
Share your website on social media, engage with your audience, and consider other marketing strategies to attract traffic and grow your online presence.
That’s a basic overview of creating a website using WordPress. Remember that the actual steps may vary slightly depending on your hosting provider and theme choice, but this guide should give you a solid foundation to get started.